Photo Booth Pages
The pages of the Photo Booth present options to the user and show status and visual feedback. How they look is determined by the skins folder that supplies the background images. How they act and if they are presented is determined by the program.
o Opening Page - lets the user start the session
o Background Choice Page - is used to select background
o Template Background Choice Page - is used to select background for multipal photos in a template.
o Take Your Place - gives the user time to get into place before the live view is turned on
o Live View Page - gives a live view of the image with green screen removed and overlays added
o Output Popup Page - If the output template has multiple images, you can get a larger pop up after each image is taken
o Output Choice Page - If the output template has only one image you can ask the system to take up to 4 images and then let the user pick the one to be processed
o Processing Page - shows processing activity as the system computers the high resolution images
o Output Selection Page - lets the user choose the output method that is desired
o Thank You Page - while the images are sent to the printer or email this page is shown
Opening Page
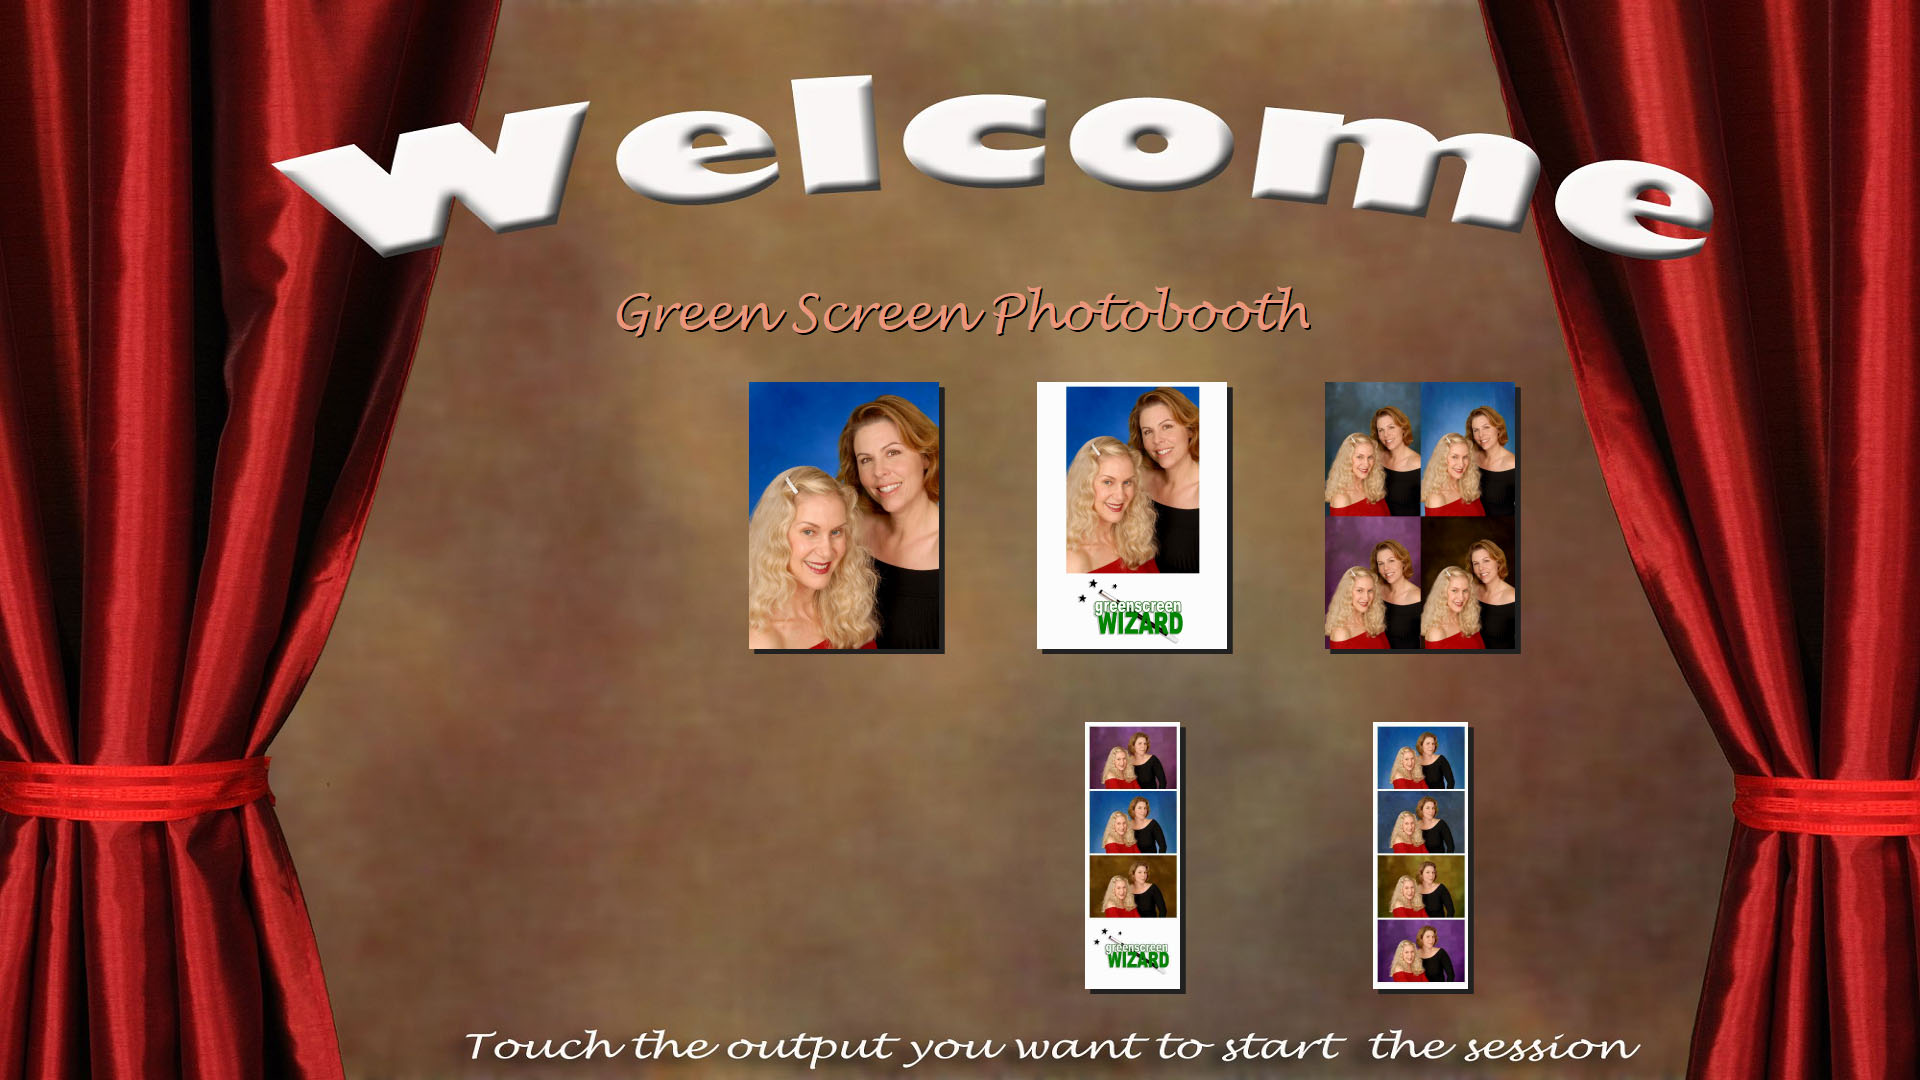
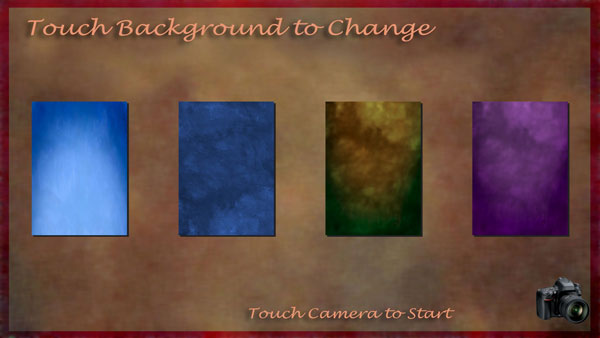
The Opening Page is the page that the user sees when he or she walks into the booth. It is a required page. The background graphic is defined in the skins sections. The text in the center comes from the program that is selected. Version 4.0 lets you create image definitions that specify the output. Up to 8 image definitions can be shown on the opening screen. The number of photos taken is determined by the number of images in the output format. All of the pages are designed to be used on a touch screen monitor.
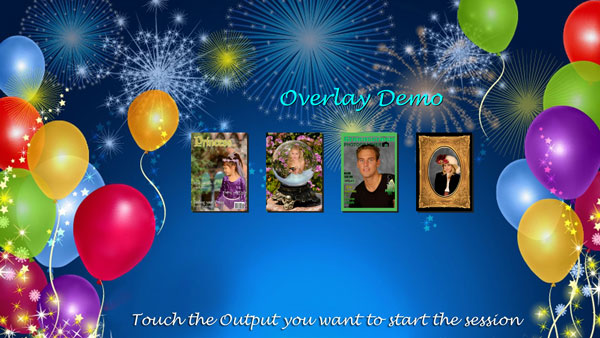
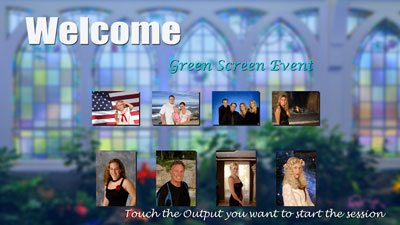
Here are a few more opening screens:
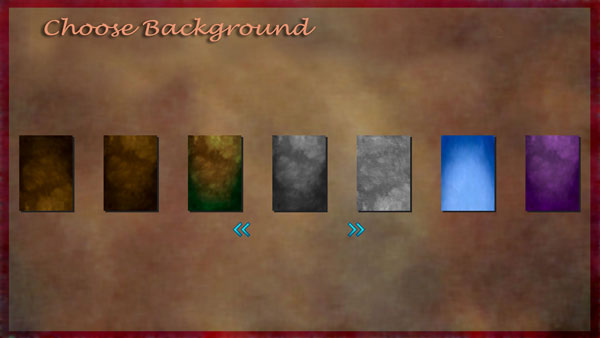
Background Choice Page
The Background Choice Page lets the user select the background image for his session from all the backgrounds in a folder. The right and left arrows let the user scroll thru the backgrounds. This page is optional as the image definitions can pre select the background.
Template Background Choice Page
The Template Background Choice Page lets the user select the background image for each image in an output template. If the user wants to change a background they can click on a background and that will bring up the Background Choice page. The use can make a selection and then the selected background is shown on the Template Choice Page. If the user is happy with the backgrounds then clicking the camera icon will start the session.
Take Your Place Page
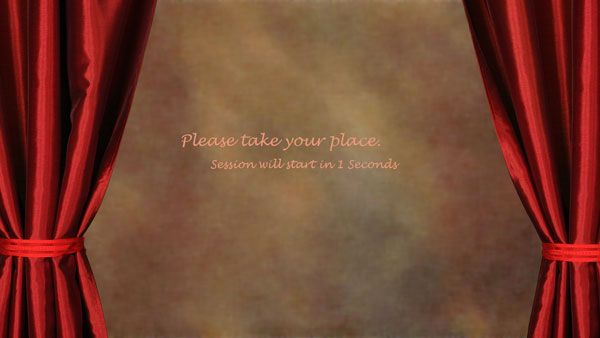
This screen gives the user time to get into place before the live view is turned on. The current program detemings how many seconds it is shown. If the time is 0 the screen is not shown.
Live View Page
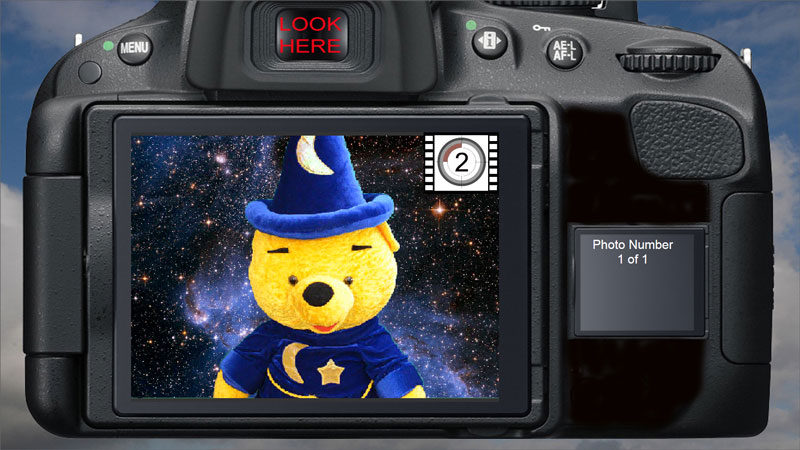
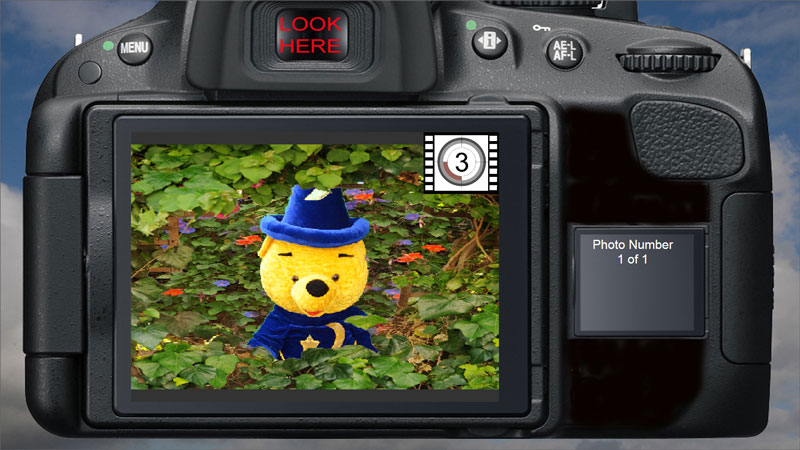
The Live View Page will show the photo with green screen removed and overlays added. Its look cannot be customized as the locations of the live view images are fixed. The page can show horizontal or vertical images scaled to match the desired output set by the program.
Here is a horizontal image with a background replaced.
Here is an overlay image.
Here is a vertical overlay image.
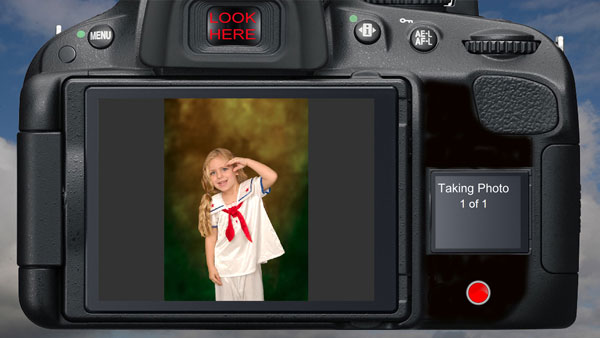
The Live View Page will show the image in real time. A countdown box will count down from 9 to 0. The number of photos to be taken and how many have been taken so far is shown on the right. Normally there is no user action on this screen other than to position yourself in the frame of the photo. Sometimes the booth is being operated by a technition and he wants to decide when the photo is ready to be taken. For example if you were takeing photos of dogs. In that case you can select to fire camear manually and a red button will appear on the screen.
Live view screen showing red button.
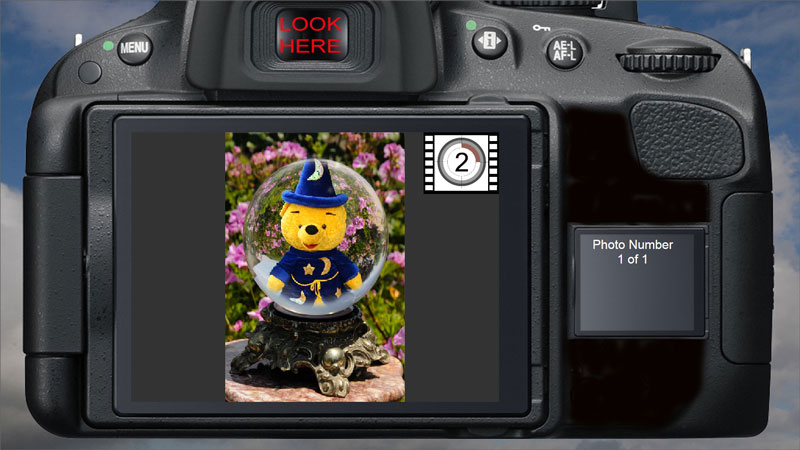
Output Popup Page
If the output template has multiple images, you can get a larger pop up after each image is taken. The current program detemings how many seconds it is shown. If the time is 0 the screen is not shown. This is only used if multiple photos are to be taken.
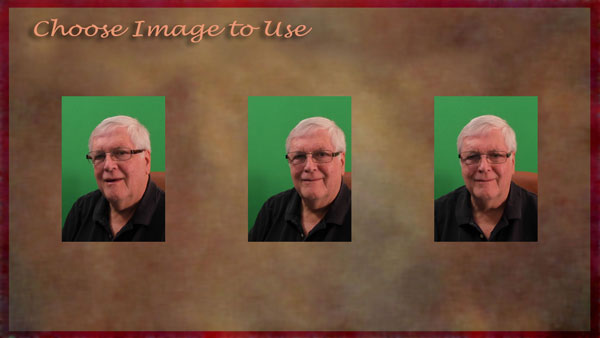
Output Choice Page
If the output template has only one image you can ask the system to take up to 4 images and then let the user pick the one to be processed
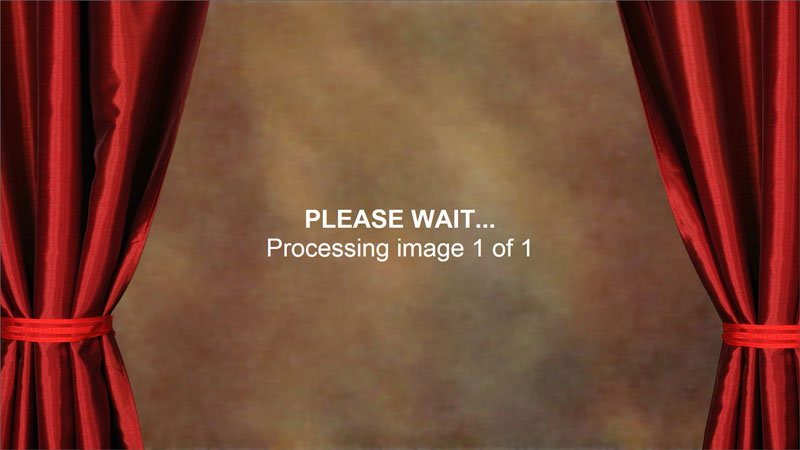
Processing Page
Once the green screen photos are taken each high resolution photo is then processed to add the background and overlays. Once that is done the final print layout must be assembled and printout backgrounds added. This takes a few seconds so the processing page is displayed. The background graphic is defined in the skins section. There is no user interaction.
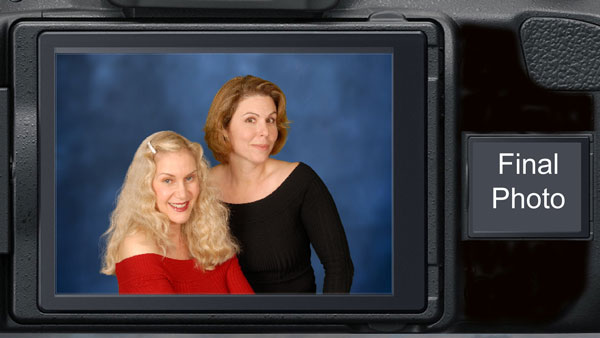
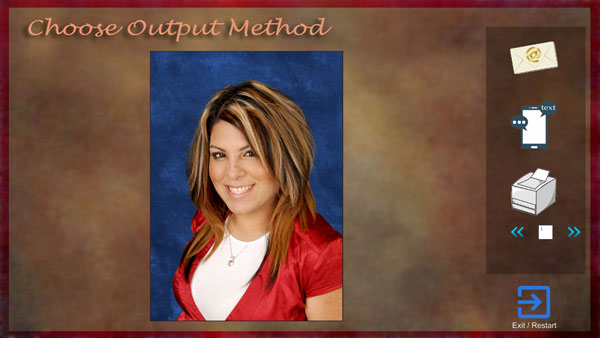
Output Selection Page
On this page the users can select the kind of output they would like. The choices presented are determinded by the program running. This page is optional, the system can automatically print an image or simply save the output for the Photo Sharing Wizard to display. The progam normaly will exit after the user makes a choice, however it can be setup so the user can output as many items as they would like and the program will only exit when the exit/retake button is touched.
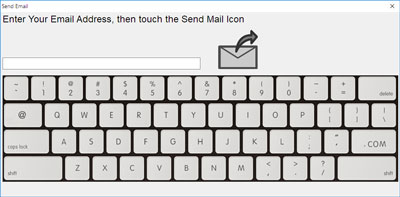
If the user selects to send email, the following Dialog will let the user enter an email address. The message body for the email is setup in the email section.
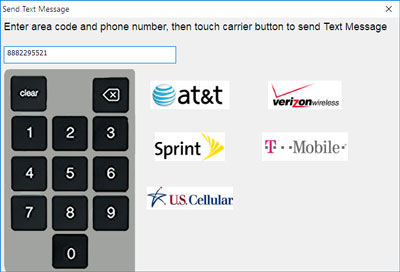
If the user wants to send text to a smart photo, the following Dialog will let the use enter a phone number and then the user will select his carrior.
Thank You Page

The Thank You Page is shown for a brief time to let the use know that the output they requested is being processed and that the session is over. This Page has no user input. The background graphic is defined in the skins section.